GAGING & VERIFICATION
SEARCH GAGES
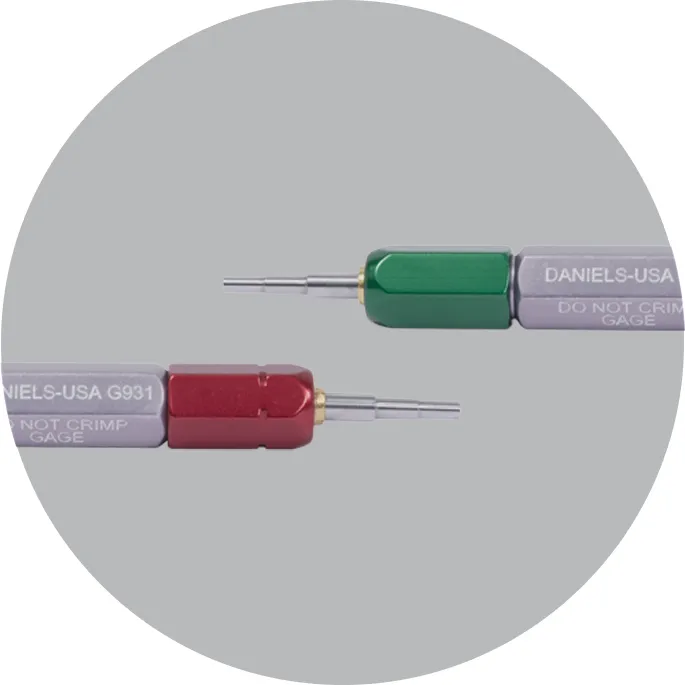
DMC manufactures go/no-go gages to verify tolerances and calibrate crimp tools. Inspection gaging is an important step of any high-reliability termination process to ensure the tooling being used is in specification and will produce the precise termination expected. We strongly recommend periodic go/no-go gage inspection of all crimp tools and dies, and when inspection indicates a tool has experienced wear or abuse it is time for factory repair. In addition to go/no-go gages, DMC manufactures contact gages to aid in selecting the proper installation and removal tooling by determining the size of a contact’s mating end.
GAGING IS SIMPLE
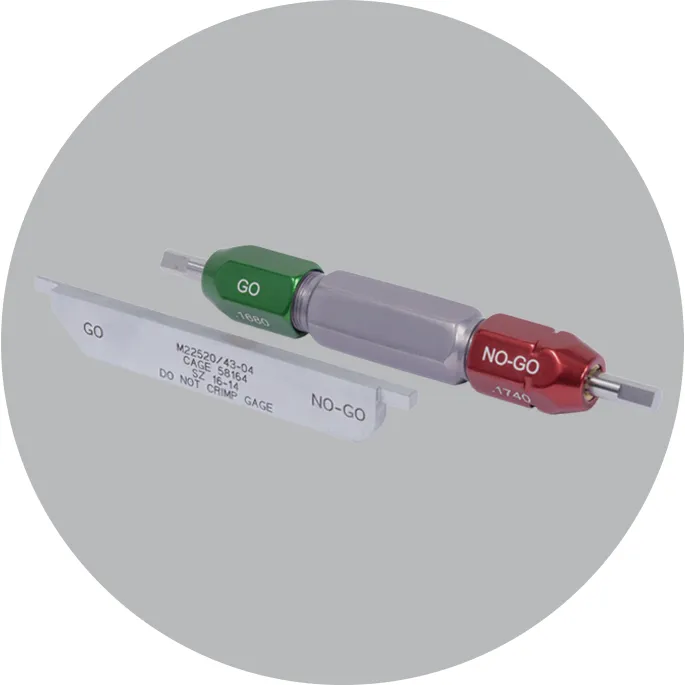
First, identify the correct gage for your crimp tool. Next, fully close the tool handles and set the crimp tool to the correct selector number. Then, pass the green (GO) end of the gage through the crimp area. It should pass freely. Finally, pass the red (NO-GO) end of the gage through the crimp area. It should not pass through. If the red end can pass completely, it means the tool is not in spec.


TYPES OF GAGES
Due to the specificity of our tools, DMC offers many different types of gages. Round gages are used to verify the precise termination of indent crimp tools. Form crimp tools with hex cavities require gages with two flat pins to assure calibration. A single stepped gage checks the function of multiple cavities in DCT/GMT tools. Specialty gages offer custom solutions for gaging tools with unique and oddly shaped cavities.

ROUND

HEX CAVITY

STEPPED

SPECIALTY
CALIBRATION & REPAIR
Daniels Manufacturing Corporation® is prepared to maintain the accuracy of your tools. Repair services are available at DMC and our Authorized Distributors.

